

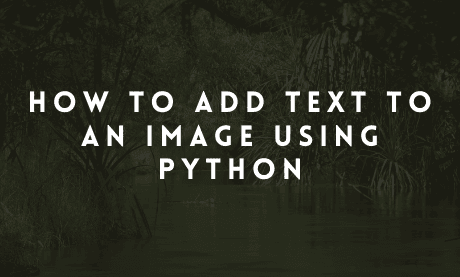
In this tutorial, we will show you how to add text to an image using pillow in python.
Although you can decide to add text to an image without Pil library using an image editor, you will be saving some time doing this using a simple python code snippet.
Not only can you add text to images, but you can also do a number of things using the Pillow library.
You can also use this technique to create images with text on them. It's easy to do and works great if you are looking to add some personalization to your site or blog.
Let's get started:
Step 1 - Install Pillow Library
Step 2 - Import Libraries
Step 3 - Select an Image File
Step 4 - Choose font face and define the text
Step 5 - Write Code to place text on the image
To install the library, you should open your command prompt or terminal window and navigate to the directory where you want to save the file.
Then, run the following commands:
pip install --upgrade pip
pip install pillow
Pillow.Next, You can now import this into your code. When working with large libraries like Pillow, it's a good idea to practice importing the specific features you want to use instead of importing the entire library.
This will save memory and time when starting the program. For a simple project like this, you only need three functions: Image, ImageFont, and ImageDraw.
You can get all three in one line of code like this:
from PIL import Image, ImageFont, ImageDraw
Add the image to the same directory as your program. Create a variable and locate it using the Image.open function.
test_image = Image.open("test_image.jpg")
Alternatively, you can generate a simple image with a plain background using the commands below:
img = Image.new('RGB', (60, 30), color = (255, 0, 0))
img.save('test_image.png')
The above command will create a red background image and store it as test_image.png.
font_style = ImageFont.truetype('/Library/Fonts/Arial.ttf', 200)
text = "This is an example of text on Image"
After choosing the image, font, and defining the text to place on the image, it's time to add the text to the image.
The first thing is to convert our image into an editable format:
image_edited = ImageDraw.Draw(test_image)
Next, we render the text on the image:
image_edited.text((15,15), text, font=font_style, fill=(255, 255, 0))
There you go, run the program, and adjust the coordinates to get your desired text position.
In conclusion, it may seem like a small task, but adding text to an image can be useful for creating banners, social media posts, or even greeting cards quickly without resulting to using image editors.